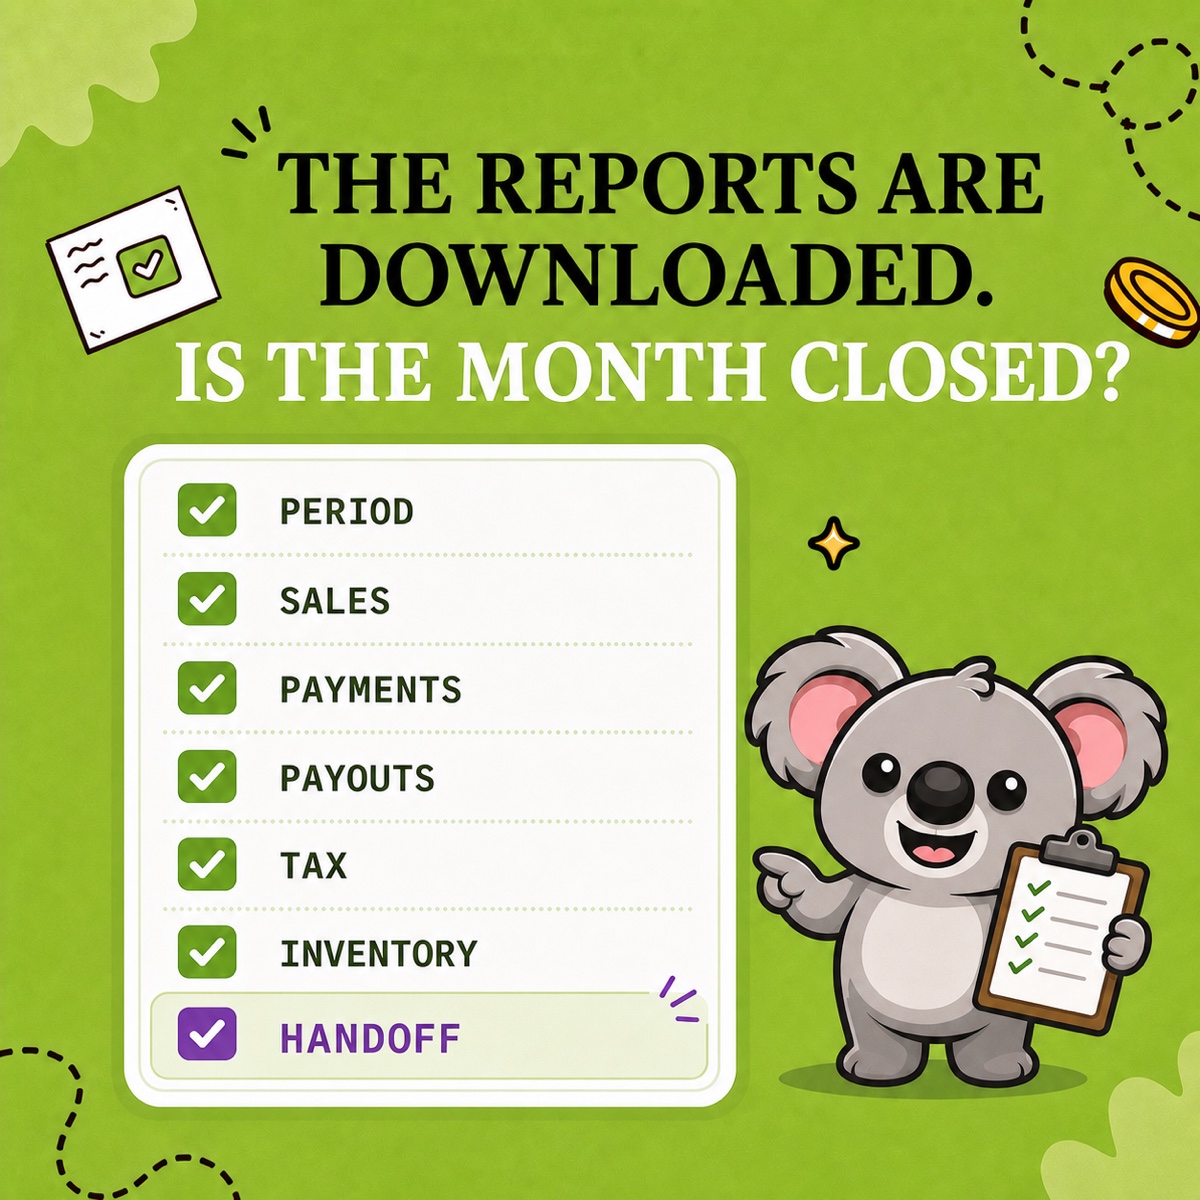

The safest inventory count spreadsheet for Shopify starts with Shopify’s own All states inventory CSV, not a blank template. Keep On hand (current) untouched, enter the confirmed shelf count in On hand (new), and use a separate working tab for zones, counter names, blind counts, recounts, variance, and notes.
That structure protects the numbers. Before anyone counts, use LedgerLeaf Pro to protect the relationships behind them. A spreadsheet sees separate Shopify variants; your shelf might hold one stock pool shared by linked listings or bundles. Mapping each row to its LedgerLeaf SKU rule prevents a tidy-looking sheet from counting the same physical units twice.
Leafy’s Quick Answer
Export one location from Shopify using the All states format. Keep the original export as an upload-ready tab, add a working count tab, hide the expected quantities from counters, and record one confirmed count per physical stock pool. Review every linked-SKU and bundle rule in LedgerLeaf Pro before copying final quantities into On hand (new) and importing the file.
Start with Shopify’s import-safe export
In Shopify admin, go to Products → Inventory → Export, choose one location, and select All states. Shopify’s current inventory CSV guide recommends this format because it includes both On hand columns and protects against accidental overwrites.
Create two tabs in your spreadsheet:
- Shopify import: the original CSV structure, with its headers left intact;
- Working count: the human-friendly sheet used on the stockroom floor and during review.
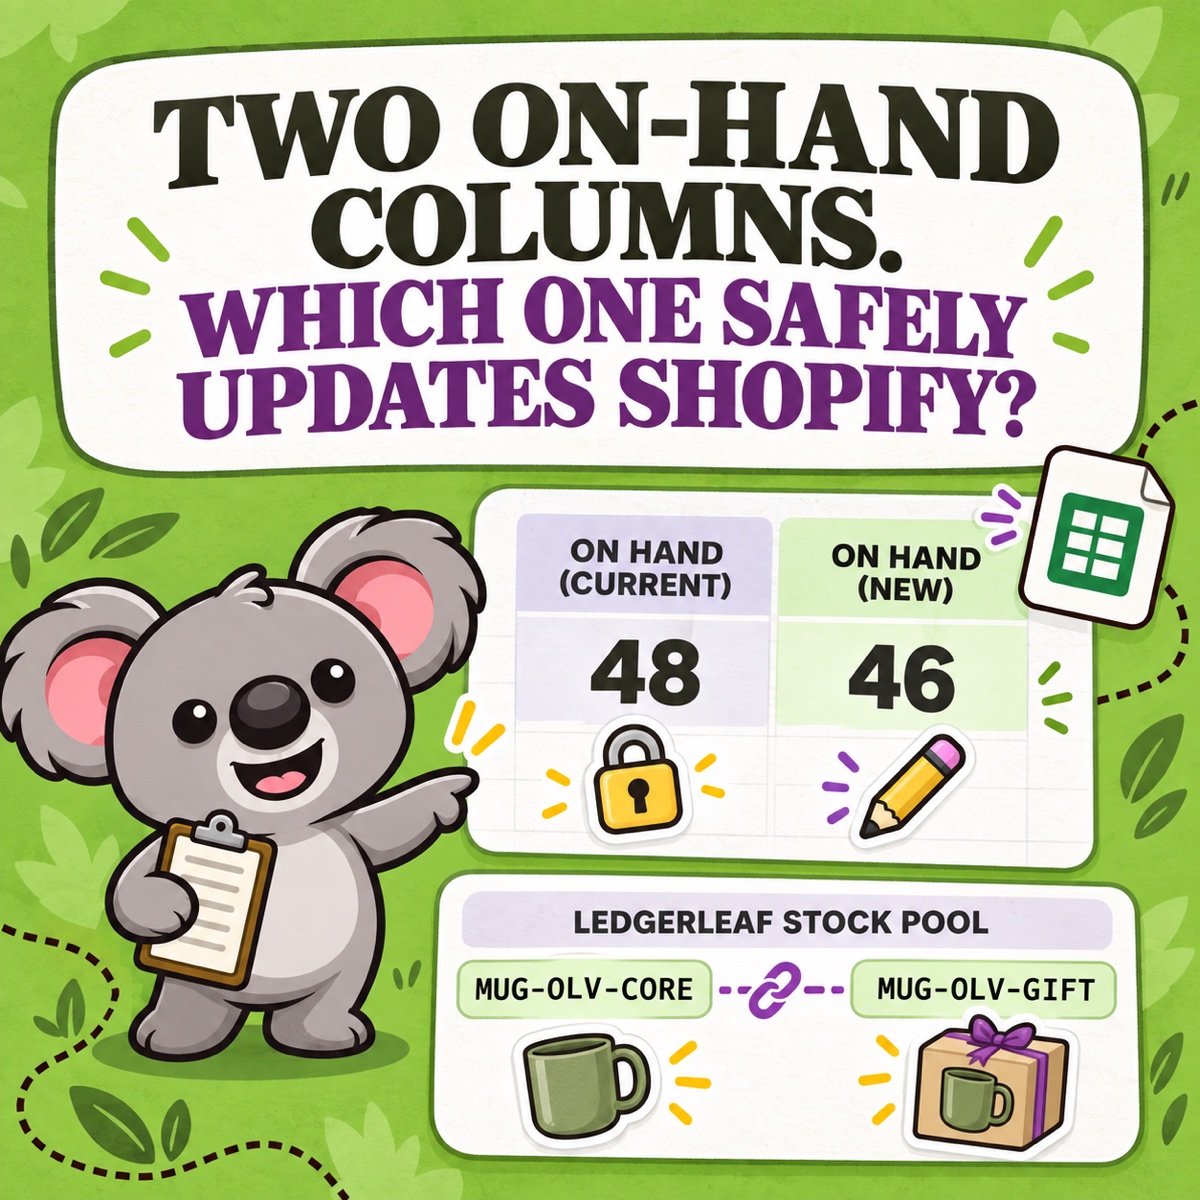
The distinction matters. On hand (current) is the quantity Shopify recorded when you exported the file. On hand (new) is the confirmed quantity you want to set. When both are present, Shopify checks whether the live quantity still matches the exported current value. If sales, returns, receipts, or transfers changed it, the affected row is rejected instead of silently overwriting newer activity.
Give the working tab twelve useful columns
Copy the identifiers from the Shopify export, then add the count controls below:
- Location
- Zone or bin
- SKU
- Product and variant
- LedgerLeaf rule or physical stock pool
- On hand (current)
- First count
- Recount
- Confirmed count
- Variance
- Counter and time
- Reason or note
Calculate Variance = Confirmed count − On hand (current). A blank confirmed count should stay blank rather than becoming zero. Zero means “we counted none”; blank means “this row has not been confirmed.”
For example:
| SKU | On hand (current) | Confirmed count | Variance |
|---|---|---|---|
| MUG-OLV-CORE | 48 | 46 | -2 |
Count the shelf, not the expected answer
Hide the On hand (current) and Variance columns from the person performing the first count. This reduces the temptation to stop when the shelf appears to match the screen. Assign zones by physical layout, record who counted each zone, and recount meaningful differences before revealing the expected quantity.
Choose a quiet count window. Shopify’s inventory-count planning guidance warns that inventory keeps changing when online or POS sales complete. It recommends counting during closed or low-traffic periods and submitting completed zones promptly.
Make LedgerLeaf the stock-pool map
Now resolve the column a generic template cannot: LedgerLeaf rule or physical stock pool.
Suppose MUG-OLV-CORE and MUG-OLV-GIFT are two listings for the same 46 mugs. They are two Shopify rows but one physical count. Label both with one stock-pool name, count the mugs once, then review the linked-SKU rule in LedgerLeaf Pro’s Inventory workspace. For a bundle, confirm whether staff physically stock a finished kit or pick its components after the sale, and count what actually sits on the shelf.
Preview the products matched by each LedgerLeaf rule and confirm that its minimum, maximum, or exact-sync logic still describes the real stock arrangement. Then test one small inventory change after the import.
This is the durable division of work: Shopify’s CSV protects the quantities; LedgerLeaf protects the relationships that make those quantities truthful. Remove the stock-pool map, and a spreadsheet can reconcile every row while still overstating what you can actually sell.
Import only confirmed quantities
After recounts and rule review, copy confirmed values into On hand (new) on the Shopify import tab. Leave that field empty for any row you are not changing. Save the file as CSV, upload it from the Inventory page, review Shopify’s import summary, and start the import.
If a row fails safety validation, do not force the old sheet through. Re-export or investigate the activity that changed the quantity, then update only the affected row. Shopify’s adjustment history records who or what changed tracked inventory, when it happened, and the resulting quantities.
Keep the original export, working count, imported CSV, import result, and variance notes together. Add the LedgerLeaf rule names reviewed and the relevant inventory snapshot to the same pack. The next count then starts from a repeatable Shopify-and-LedgerLeaf process—not a mystery spreadsheet someone has to rebuild.
Keep shared Shopify stock aligned after the count with LedgerLeaf Pro.